Caramelised Maple Cinnamon Buns
Cinnamon buns are one of the best smells you can wake up to on a Sunday. If you’ve had the privilege of having some baked for you, count yourself extremely lucky, and if you’ve baked them for others, you’re an absolute star.
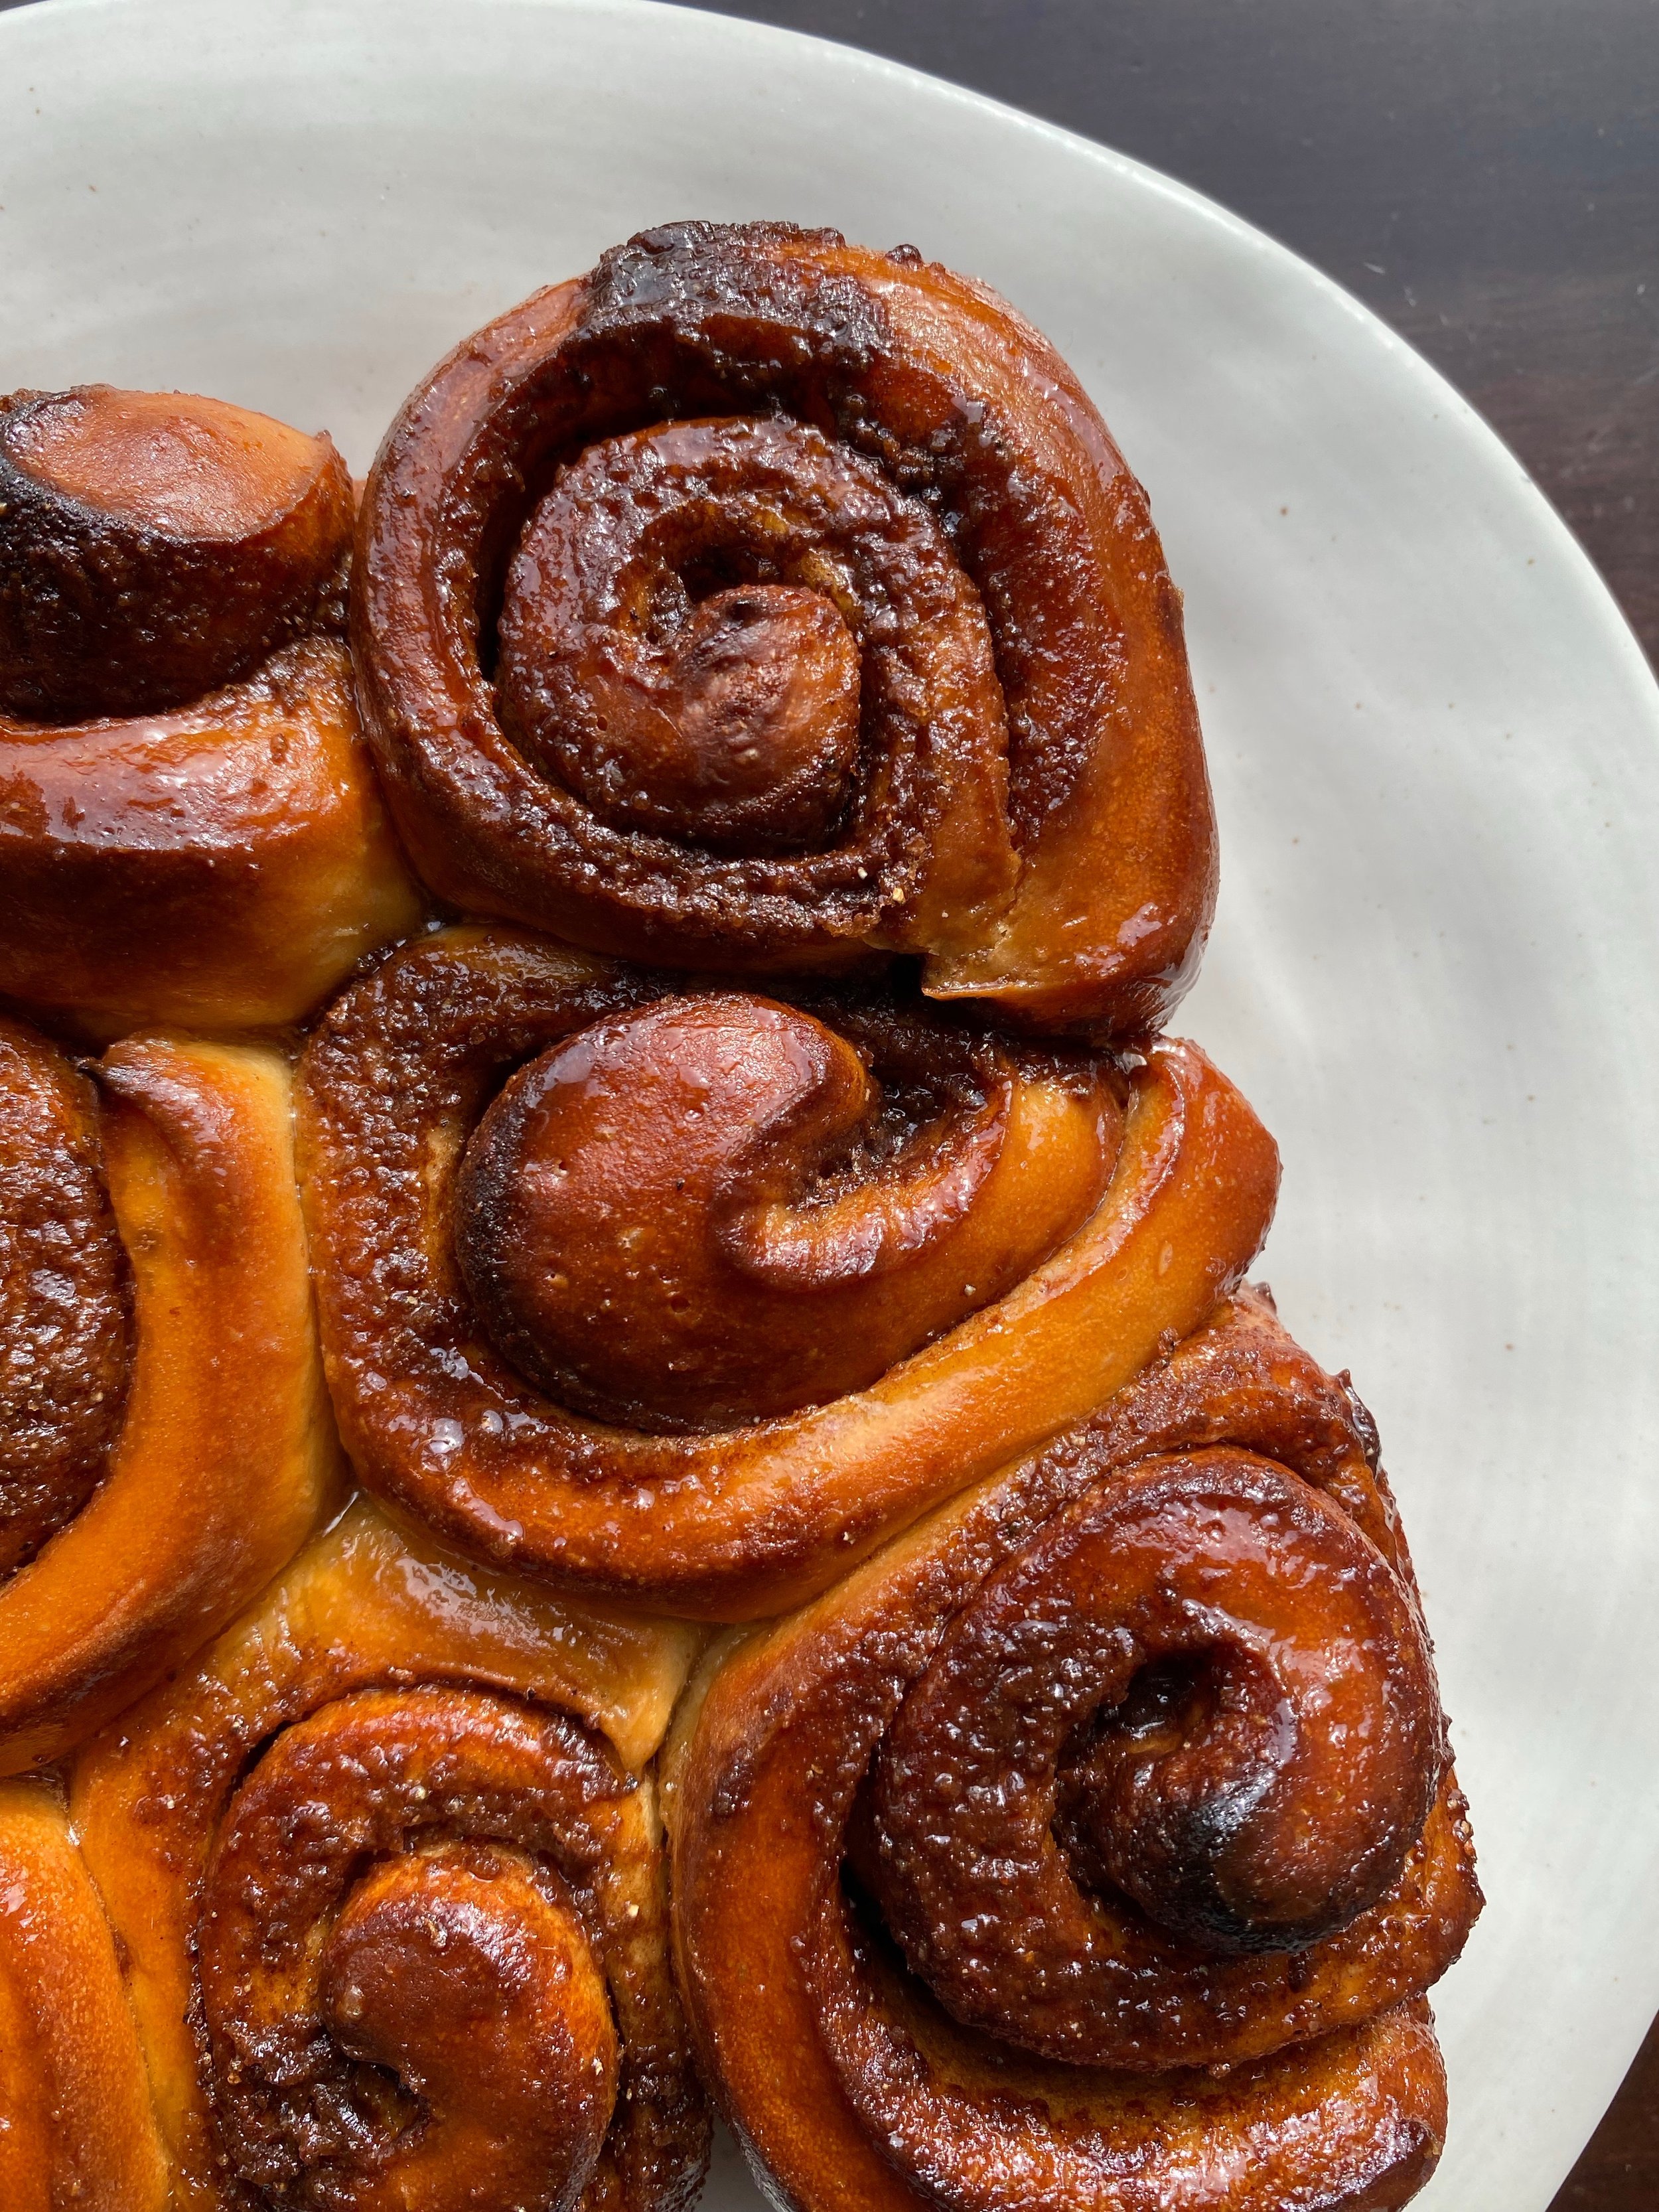
My issue is I can never choose between cinnamon or cardamom buns, I love both with a passion. So, I’ve combined both spices in the filling to create some sort of hybrid. You also may have noticed that there is no icing/frosting on these… that’s because I believe theres nothing worse than icing on a cinnamon bun. It’s OTT, just way too sweet. Instead, I’ve brushed them with a maple glaze inspired by Alison Roman’s version in Sweet Enough, and I think this way, they’re absolutely perfect (dare I say, the best buns I’ve ever made and eaten).
Notes: If you want a gooey swirl, add 40g of double cream into the butter filling
Ingredients
For the Yudane:
56g Bread Flour
53g Boiling Water
For the Dough:
210g Buttermilk
21g Sugar
4g Active Dry Yeast
15g Unsalted Butter, cut into cubes
280g Bread Flour
7g Salt
For the Filling:
70g Room-Temperature Unsalted Butter
85g Light Brown Sugar
3/4 Tbsp Ground Cinnamon
1 1/2 Tsp Ground Cardamom
1/4 Tsp Salt
For the Glaze:
30g Melted Unsalted Butter
30g Dark Maple Syrup
Method:
1. Stir the ingredients for the yudane together in a small bowl until thoroughly combined. Cover and set aside for at least 1 hour, or place in the fridge overnight.
2. Once the yudane has fully cooled and hydrated. Warm the buttermilk until lukewarm, around 35°C. Stir the sugar and yeast through, set aside for 5 minutes, until the yeast has bloomed and the mixture turns slightly fluffy/foamy.
3. Pour the yeast mixture into the bowl of a stand mix, and tear chunks of the yudane into it. Add the butter, flour and salt. Mix on low speed to bring the dough together, then increase to medium. Knead the dough, occasionally scraping the sides and bottom, for 15-20 minutes, until the dough doesn’t stick to the sides of the bowl and it becomes smooth and stretchy (you know its ready when you can gently stretch the dough so thin you can see shadows through it.) - This step can be done manually. Stir the dough together with a wooden spatula, then tip the dough onto a clean surface and knead 20-30 mins until smooth and stretchy. At first it’ll be sticky, don’t add any flour, it will transform itself.
4. Shape the dough into a taught ball and place back in the bowl. Cover and set in the fridge for a slow proof, 12-24hrs.
5. Meanwhile, mix the filling ingredients together in a bowl until creamy. Grease a 20x20 baking tin with butter.
6. Once the dough has proofed, lightly flour a clean work surface. Roll the dough out into a 35x20cm rectangle, spread the filling onto the dough in an even layer, leaving a 2cm border at the top.
7. Starting from the long side of the rectangle, closest to you, roll the dough into a log. Let the dough rest for a minute on its seam to seal it. Using a serrated knife divide the dough into 8 portions.
8. Transfer the rolls into the greased tin, gently cover, and let the rolls proof for another 30-45 minutes, until puffy- to test if they’re ready, wet your finger and gently press onto the dough. It should slowly spring back, leaving a slight indentation.
9. Half way through proofing, preheat the oven to fan 185°C. Bake the buns for 20-30 minutes, until golden brown.
10. Meanwhile, stir the ingredients for the glaze together. Once the rolls are baked, generously brush half of the glaze on top, return to the oven for 1-2 minutes, until sticky. Brush with the remainder and place back in the oven for another 1-2 minutes.
11. Let cool down for 10 minutes before tucking in.