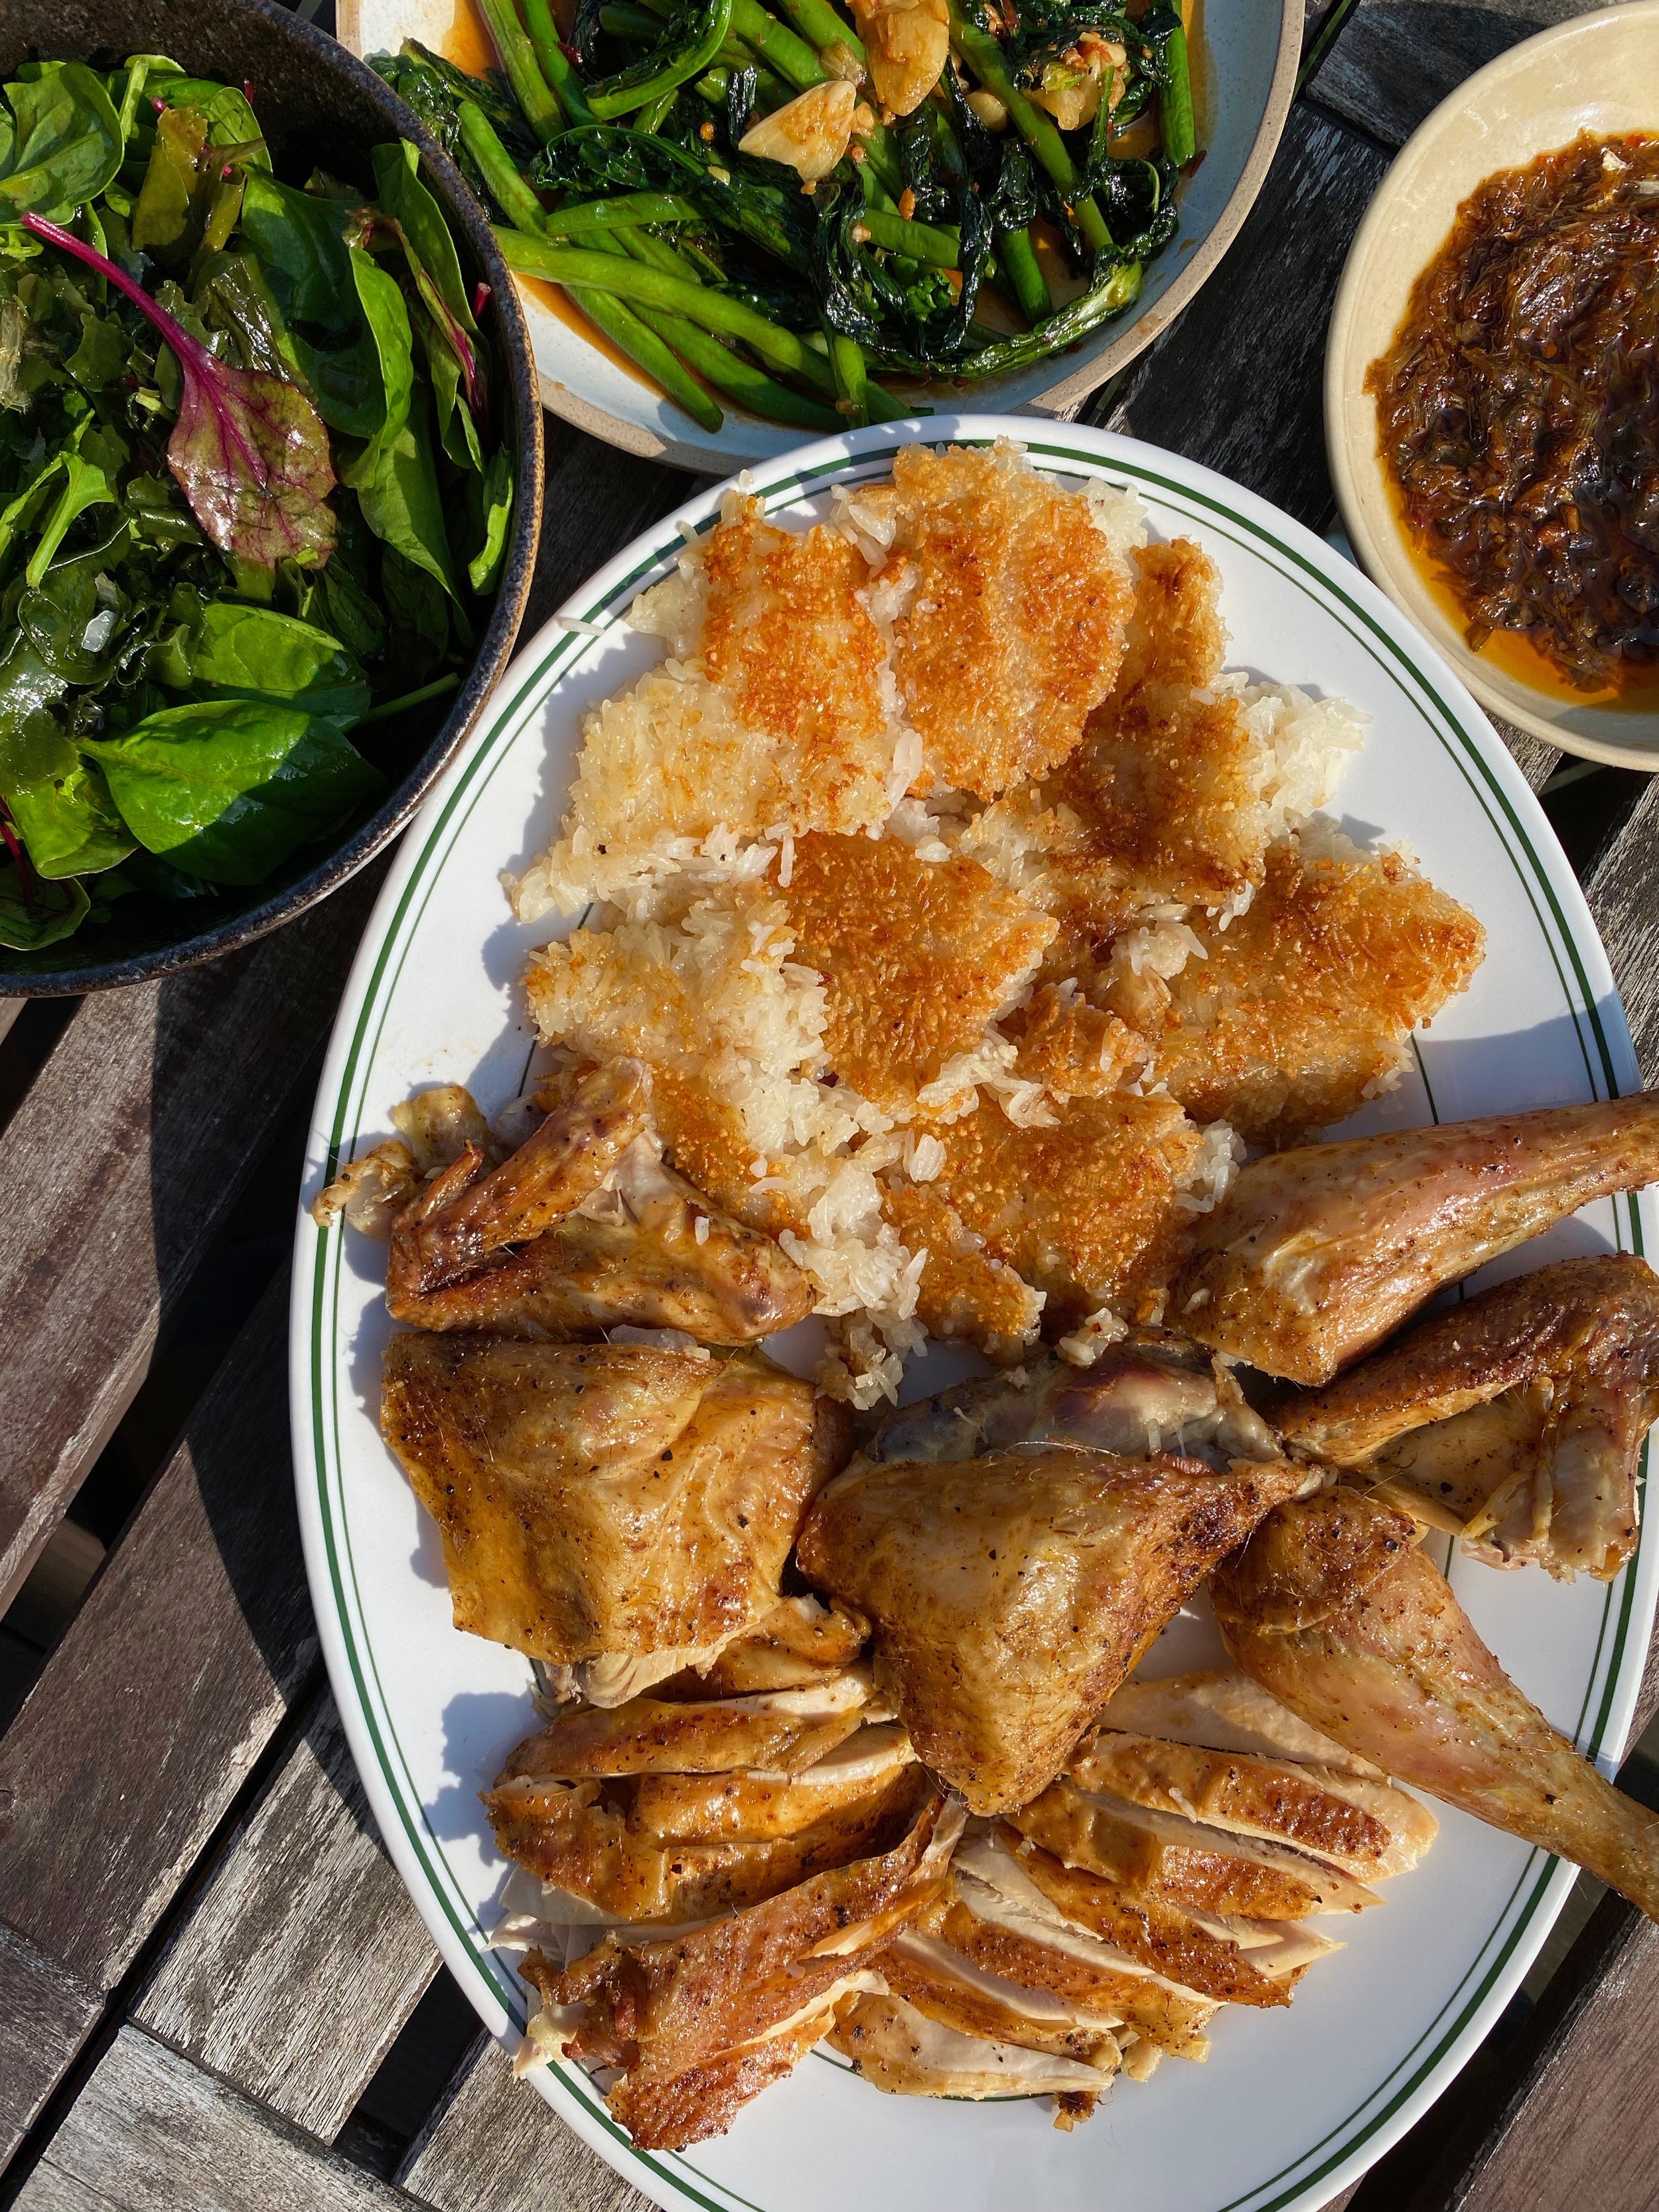
Soy Roast Chicken with Crispy Sticky Rice
I always dry brine my chicken in a salt and baking powder based mixture to make sure the skin goes crispy and the meat stays tender and juicy. A couple months ago I played around with the dry brine mixture and added a touch of dark Chinese soy sauce (the thick kind usually used for colour) and it made the chicken skin so much more delicious - a touch richer and more umami. It’s such a tiny addition and change to a regular roast chicken, but the pay off is huge. I served the roast with a fresh greens and wakame salad, stir-fried beans and greens in spicy oyster sauce and a soy, spring onion and ginger oil.
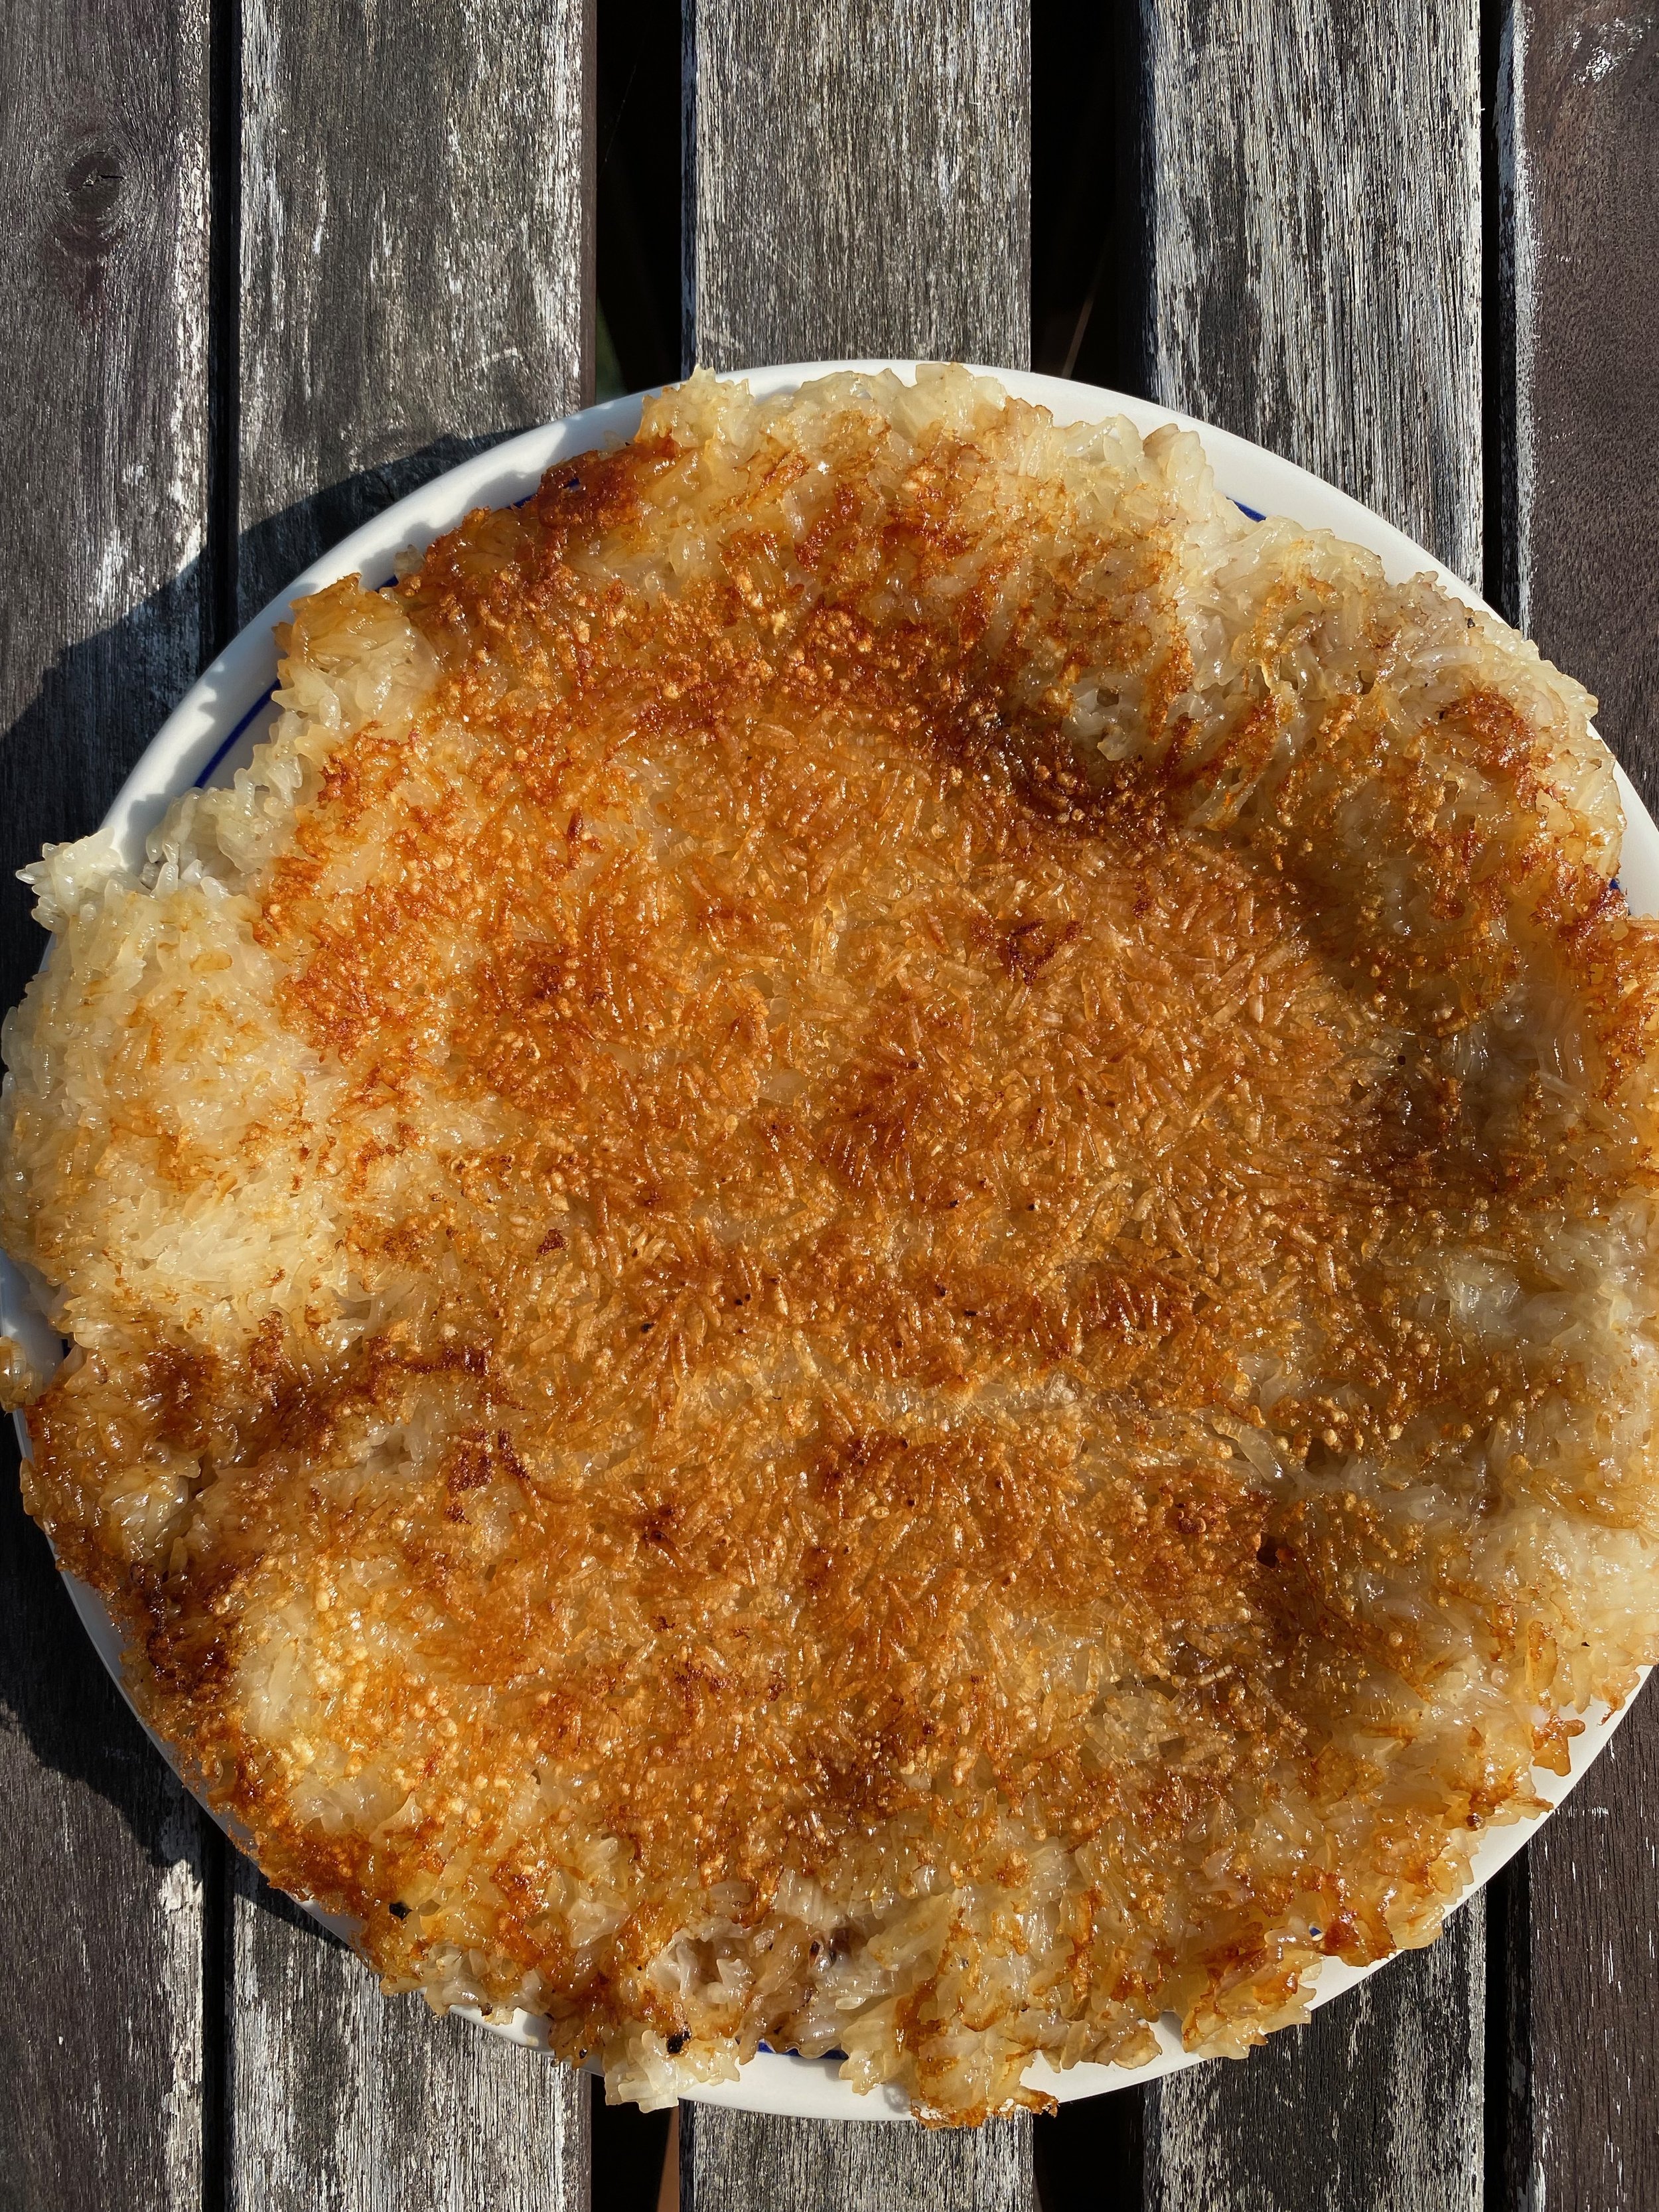
I recently saw Tina (Doobydobap) make a video about a Korean roast chicken stuffed with glutinous rice, which heavily inspired me to make this dish. The rice absorbs all of that chicken fat and juices and the texture of sticky and crispy/crunchy makes for the absolute best version of scorched rice you could possibly have. Even better, the whole dish is made in 1 pot - so easy and incredibly delicious.
Notes: You can also leave out the rice and make the soy roasted chicken by itself, cook it exactly the same way, but omit the rice and chicken stock from the recipe. Since the chicken is just the best version of a roast chicken, you can serve it with any sides you like.
Serves: 2-3
Prep/Cook Time: 2hrs + dry brining
Ingredients
1.2-1.5 KG Whole Chicken
2 tsp Sea Salt
1/4 tsp Dark Soy Sauce
1/2 Tsp Baking Powder
1 tsp Freshly Ground Black Pepper
250g Sticky Rice
100ml Chicken Stock (optional)
Method:
1. Using kitchen scissors, cut along each side of the chicken spine, from the neck to the tail and discard. Flip the chicken over and press down onto the breasts to flatten - it should crack. Pat the chicken dry.
2. Mix the salt, pepper, baking powder and soy together until the consistency is like wet sand. Rub all over the chicken, inside and out. Place the chicken onto a wire rack lined tray or plate and place in the fridge for a minimum of 2hrs up to overnight, uncovered - You want to dry out the skin during this process.
3. Meanwhile, rinse the rice until the water runs clear, then cover with water and let soak for 3-4 hours, or overnight.
4. Once soaked, drain the rice and transfer into a clean tea towel. Place a steamer basket onto pot of water and turn the heat up to high. Once the water starts boiling, place the tea towel with the rice into the basket and place the lid on. Turn the heat down to medium-high and par-cook the sticky rice, 5-7 minutes. Then, remove and let cool down a little.
5. Preheat the oven to fan 140°C. Lightly brush some oil onto the base of an oven safe pan and line with baking paper.
6. Pat the chicken dry. Stuff the cavity of the chicken with the cooled sticky rice and transfer onto the paper lined oven-safe pan, skin side up. Drizzle with some olive oil and roast until fully cooked through, 2 hours - this is a slow roast which makes for tender and juicy chicken.
7. Halfway through roasting, check the pan - If the chicken hasn’t released much juice, pour in 1/3 of the chicken stock and return to the oven for the remainder of the time.
8. Once cooked, turn the oven off. Transfer the chicken onto a board to rest and place in the cooling oven.
9. Keep the rice in the pan and place onto medium heat. Pour over the remaining chicken stock and spread the rice into 1 even layer (it should be quite thin). Place a lid on and let it gently steam for 5 minutes, then remove the lid and let the chicken stock evaporate fully. The rice will slowly turn golden and crispy, the sound of the sizzle will change and it will start smelling like toasted rice, this will take around 7-10 minutes. Place a plate ontop of the rice and flip onto the plate. Peel back the baking paper and let the crispy golden rice cool down a little before serving (it’s molten hot). If the rice isn’t golden once you flip it, return to the pan and keep on cooking it.
10. Carve the chicken and serve with the crispy sticky rice.

